
The OpenVPN clients we recommend at Stackscale are: an easy to install OpenVPN package for Linux, the open source OpenVPN client for Windows and the open source TunnelBlick solution for Mac OS. OpenVPN is a widespread open source Virtual Private Network solution which offers numerous security possibilities.
How to install OpenVPN on Linux
You can install the OpenVPN client on Linux using one of the following options, depending on the Linux operating system installed. OpenVPN 2.5 is the latest supported version as of June 2023.
Installing the OpenVPN client on CentOS or RedHat
yum install openvpn
Installing the OpenVPN client on Ubuntu or Debian
apt-get install openvpn
Once it is installed, you can copy the configuration files we have sent you from Stackscale in the /etc/openvpn directory. Modify the auth.txt file according to the configured user (the example is done with the “admin” user). After completing these steps, you only need to restart the OpenVPN service and Stackscale’s VPN will be ready to use.
How to install OpenVPN on Windows
Once you have downloaded and installed the latest supported 32 or 64 bits stable version of OpenVPN for Windows (OpenVPN 2.5 is the latest supported version as of June 2023), import the file using the utility “Import configuration” of OpenVPN and then you will only need to press the “Connect” button.
Copy the content for the VPN we sent you by email on the “windows” directory to the folder C:\Program Files\OpenVPN\config. Finally, right-click on the notification tray icon and then click on connect.
There are many OpenVPN clients you can also use, apart from the options we mention above. For instance, the open source OpenVPN client Pritunl, which is free, simple to use and can be installed on many operating systems.
How to install VPN TunnelBlick on Mac OS
For installing the OpenVPN client TunnelBlick, the first step is downloading the latest stable version of TunnelBlick (TunnelBlick 3.8 is the latest supported version as of June 2023) and executing it in order to install it on your computer. Once it’s installed, select the .ovpn file path we sent you and you will be able to access Stackscale’s VPN.
Create new users for a VPN
In order to create new users, access via SSH to the server that contains the VPN server, use the “admin” user and the password you initially established for the environment. This can be done via the public IP of the VPN.
For creating a new user, execute:
sudo adduser <username>
This command should return something like this:
$ sudo adduser username
Adding user 'username' ...
Adding new group 'username' (1014) ...
Adding new user 'username' (1014) with group 'username' ...
Creating home directory '/home/username' ...
Copying files from '/etc/skel' ...
Enter new UNIX password:
Retype new UNIX password:
passwd: password updated successfully
Changing the user information for username
Enter the new value, or press ENTER for the default
    Full Name []:
    Room Number []:
    Work Phone []:
    Home Phone []:
    Other []:
Is the information correct? [Y/n]
Regarding Stackscale’s VPN, our system administration team takes care of creating new users for customers in their VPN when needed. On this matter, in order to guarantee the maximum security, we recommend that every user with permissions has its own access to the VPN.
Moreover, it is possible to specify firewall rules for each VPN user but it would entail loosing the possibility to connect multiple users simultaneously.
OpenVPN
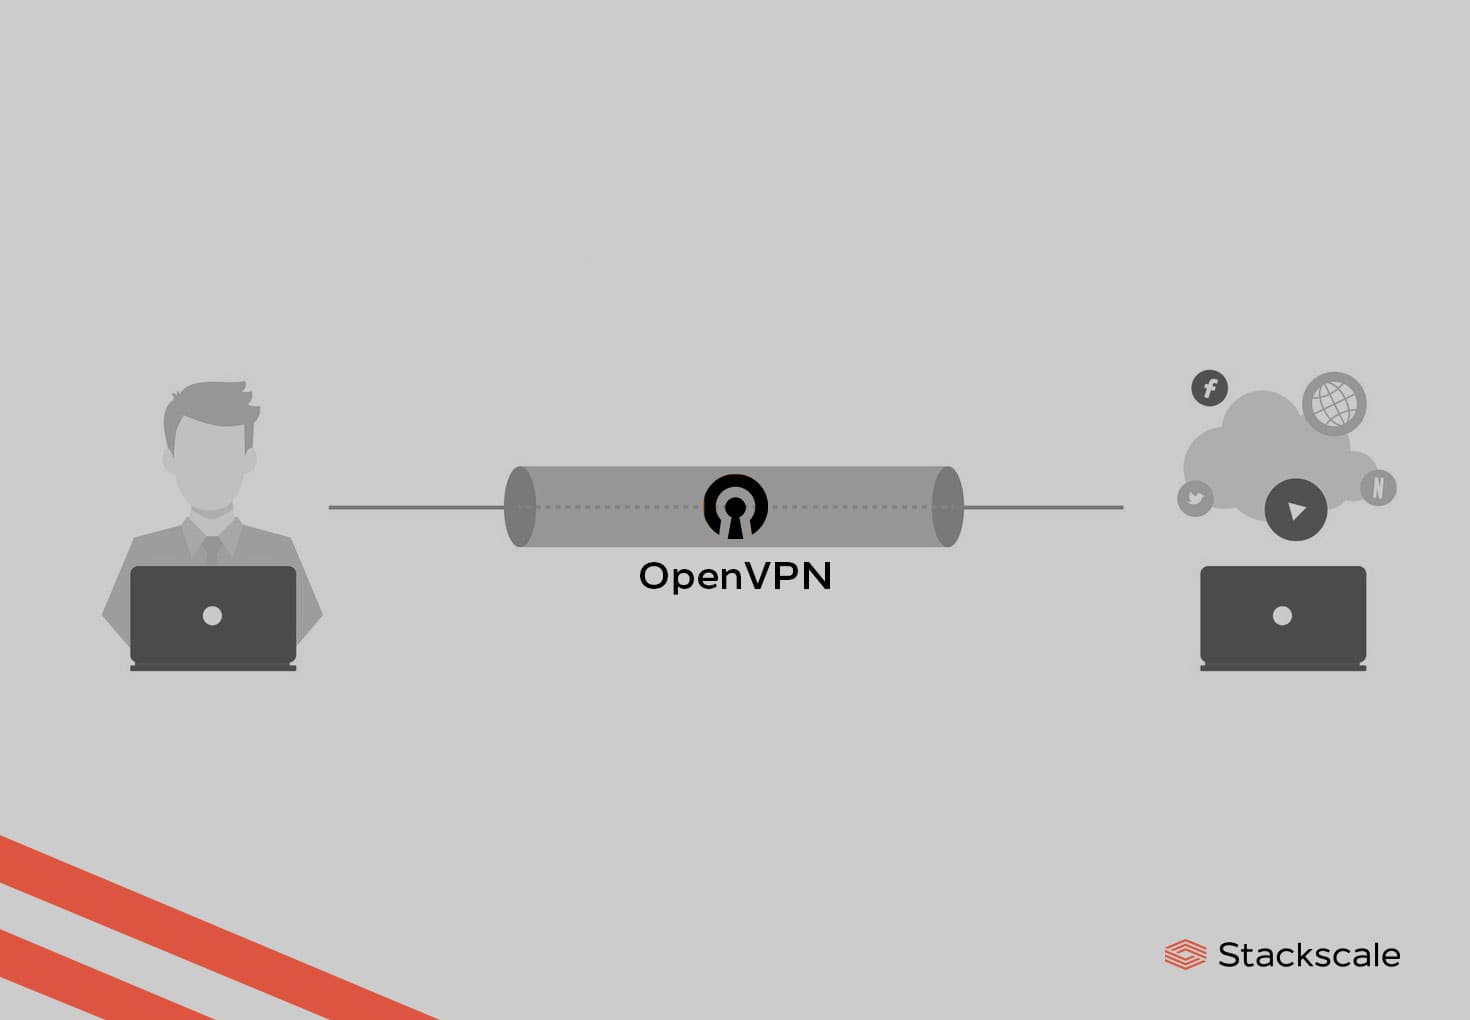
OpenVPN is a widespread open source VPN solution which offers numerous security possibilities. It allows users and businesses to easily create secure connections over the Internet. To do so, it uses a custom security protocol based on SSL/TLS.
IT security is essential. That is why we always recommend using Virtual Private Networks and providing every user with its own access to it. Do not hesitate to contact us if you want to guarantee the highest security, privacy and performance in your IT infrastructure or virtual environment.